Foam Rolling for Desk Workers: Upper Back, Glutes & Legs
Foam rolling is a form of self-massage. It may temporarily change range of motion, but evidence for pain relief is limited and it is not a treatment for injury.
A foam roller uses body weight to apply pressure to soft tissue, a practice often called self-myofascial release. Reviews suggest it can improve range of motion in some settings, but results for musculoskeletal pain are limited and inconsistent. Treat the routine below as an optional comfort or warm-up practice, not as a cure or a substitute for assessment.
Here's an optional 15-minute foam rolling sequence for large muscle areas, followed by evidence limits and safety cautions.
Before you start
Use light, controllable pressure and stop for sharp, radiating or worsening pain. Do not roll over an open wound or known fracture. Seek professional advice first if you have a suspected blood clot, local tissue inflammation or infection, a recent injury, or another condition that may make pressure unsafe.
The 15-minute routine
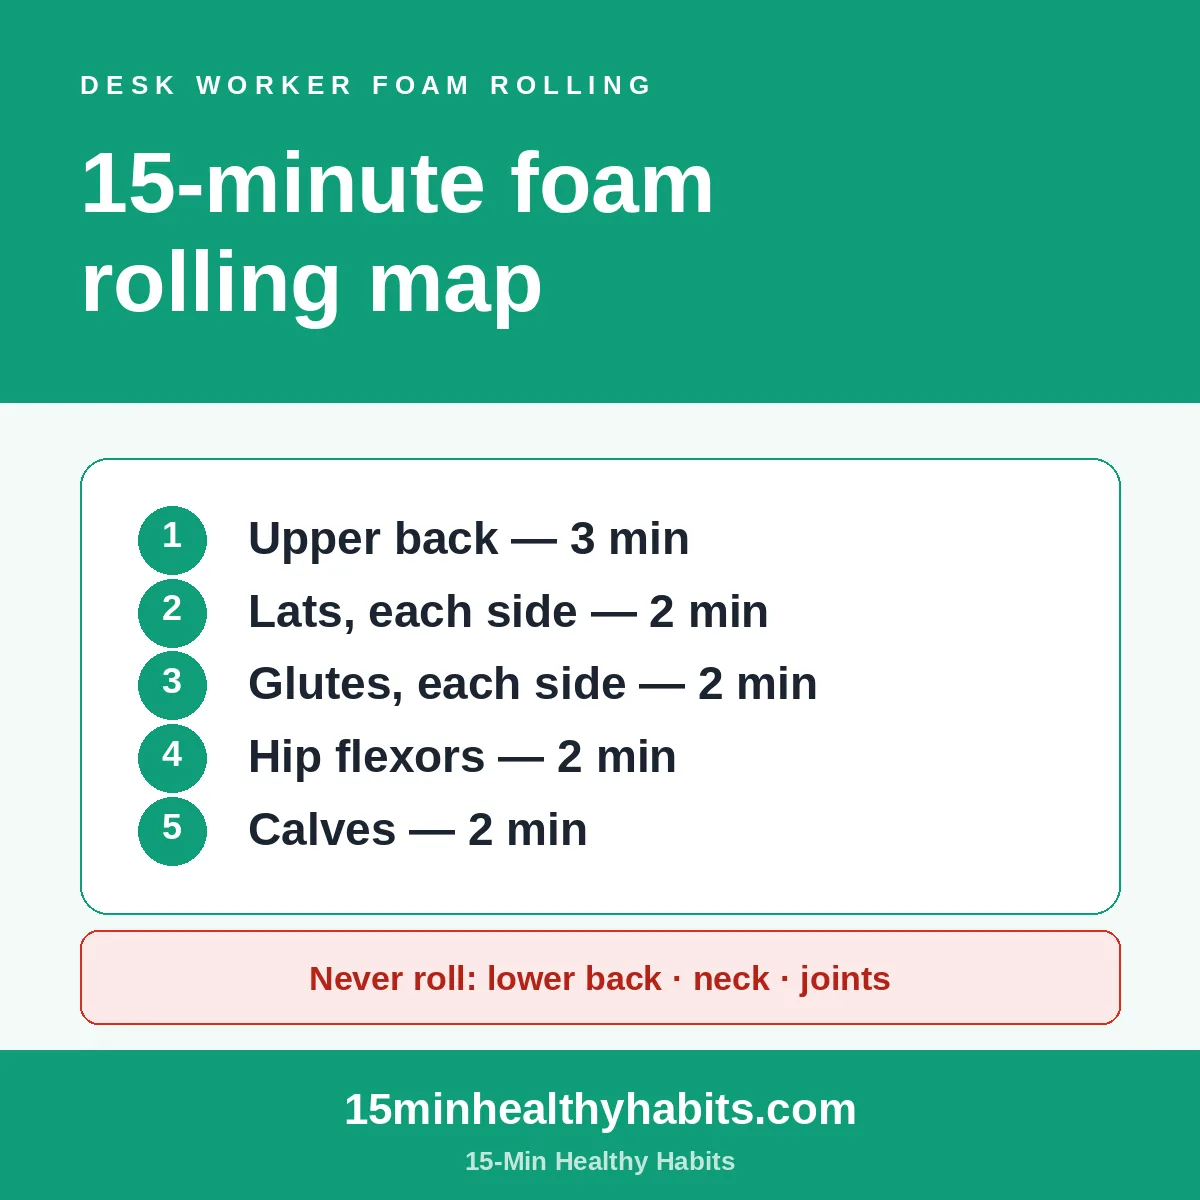
1. Upper back / thoracic spine (3 min)
Lie on your back with the roller across your upper back, knees bent, hands supporting your head. Lift your hips slightly and roll only across the muscular upper-back area with light pressure. Keep the neck supported and stop if symptoms radiate.
2. Lats / side of the back (2 min each side)
Roll onto one side with the roller below the armpit and use a small range along the muscular side of the upper back. Avoid direct pressure on the ribs, armpit or shoulder joint.
3. Glutes (2 min each side)
Sit on the roller, cross one ankle over the opposite knee, and lean toward the crossed side. Use a small range over the muscular part of the glute, then switch sides.
4. Hip flexors and front of thigh (2 min each side)
Lie face down with the roller on the muscular front of the thigh, below the hip crease, then use a controlled range toward — but not onto — the knee. Use less body weight near sensitive areas.
5. Calves (2 min each side)
Sit with the roller under one calf and the other foot on the floor for control. Lift your hips and roll from ankle to just below the knee. Rolling the wrong areas is easy to avoid once you know the map below.
Where not to roll
Keep direct pressure off the neck, joints, bony points, open wounds and known fractures. The best-supported expert consensus identifies open wounds and fractures as contraindications and flags deep-vein thrombosis, local inflammation, osteomyelitis and myositis ossificans as cautions. Evidence on other safety limits remains incomplete, so uncertainty or a medical condition is a reason to ask a qualified professional first.
Pair it with a stretch routine
If you want a gentle change of position afterward, use only comfortable movements from our 15-minute movement-break builder. Neither tool is a treatment plan.
As an Amazon Associate, 15-Min Healthy Habits earns from qualifying purchases. Some links on this page are affiliate links — at no extra cost to you.
How often should you foam roll?
Research has not established one optimal foam-rolling dose for desk-related discomfort. If you use a roller, begin with a brief, low-pressure session and judge comfort during and after it rather than assuming more pressure or more time is better.
When to see a professional
Foam rolling is not a treatment for injury. Seek medical advice for severe or worsening pain, pain after a fall or injury, persistent symptoms, or numbness, tingling or weakness.
Sources reviewed
This article shares general wellness information and is not medical advice. Everyone's body is different — listen to yours, and consult a qualified professional for persistent or serious pain.